Learn how light works in Blender and how to use it with purpose.
Understand Blender’s main light types, control shadows, shape your subjects, and create stronger, more professional renders.
Explore essential lighting techniques and practical setups including Three-Point, Butterfly, Loop, Rembrandt, Split, Rim Light, High-Key, Low-Key, and more.
Required level: Beginner

Sub:
English
Dub:
English
This course may include AI-generated translations and voiceovers in select languages.

THE PROBLEM
You have a good model.
Your materials are working.
Your camera is ready.
But the moment you add lights, everything starts to feel... random.
Maybe your render looks flat.
Maybe the shadows are too harsh.
Maybe you're moving lights around until something finally looks good.
Good lighting shouldn't be guesswork.
Blender Lighting Lab teaches you how light actually works, so you can understand what each light is doing and make intentional decisions instead of endlessly tweaking your scene.
Who is this course for?
For Blender artists who want to stop guessing and start understanding light.
IF YOU:
Struggle to make your renders feel professional.
Don't know which Blender light to use or when to use it.
Move lights around your scene without really knowing what you're looking for.
Have trouble controlling shadows and highlights.
Want to understand common studio and cinematic lighting setups.
Want to create more intentional, visually appealing renders.
Then, this course is for YOU!
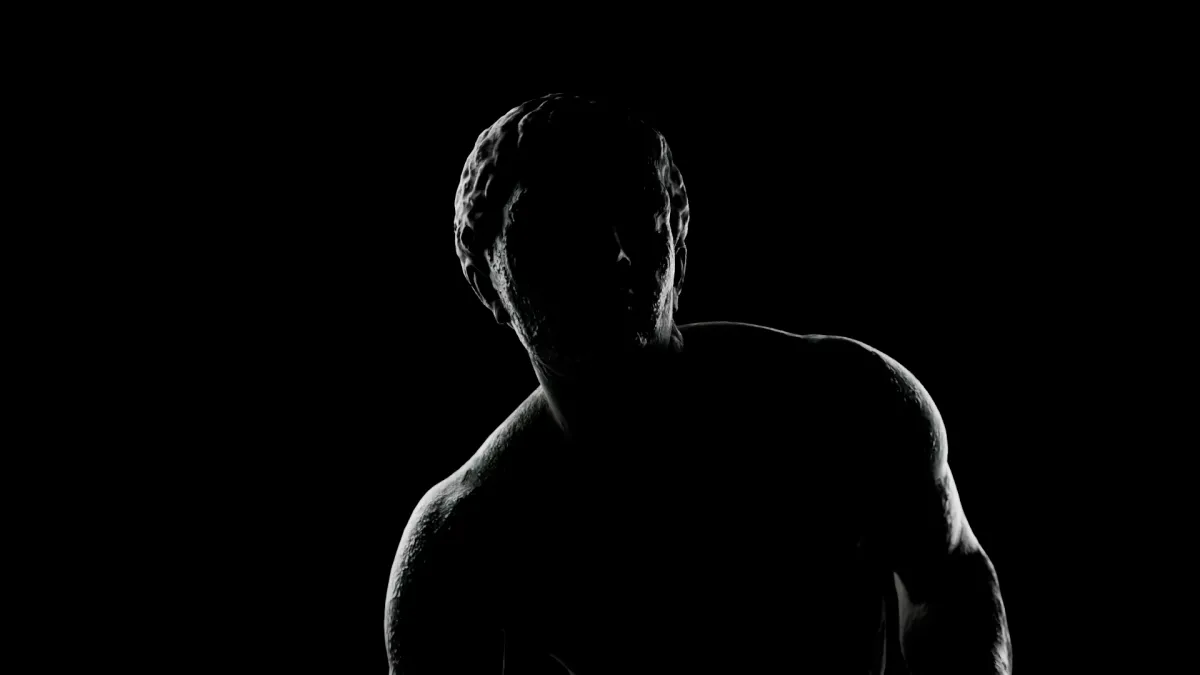
Learn to control light instead of letting light control your render.
Charly breaks down Blender's lighting tools and shows you practical lighting setups you can apply to characters, products, objects, and your own 3D scenes.
What is included?
Complete Blender lighting mini course
Understand Blender lighting in just over an hour
14 practical lessons
Multiple professional lighting setups
Downloadable project files/assets
Spanish and English audio
Spanish and English subtitles
Lifetime access
Course Requirements
Recommended Knowledge
Basic familiarity with Blender is helpful, but you don't need previous lighting experience. The course focuses specifically on understanding and applying lighting techniques.
Recommended Software
Recommended Requirements
Any computer capable of running Blender and rendering the included scenes.
What is inside
Lights in Blender
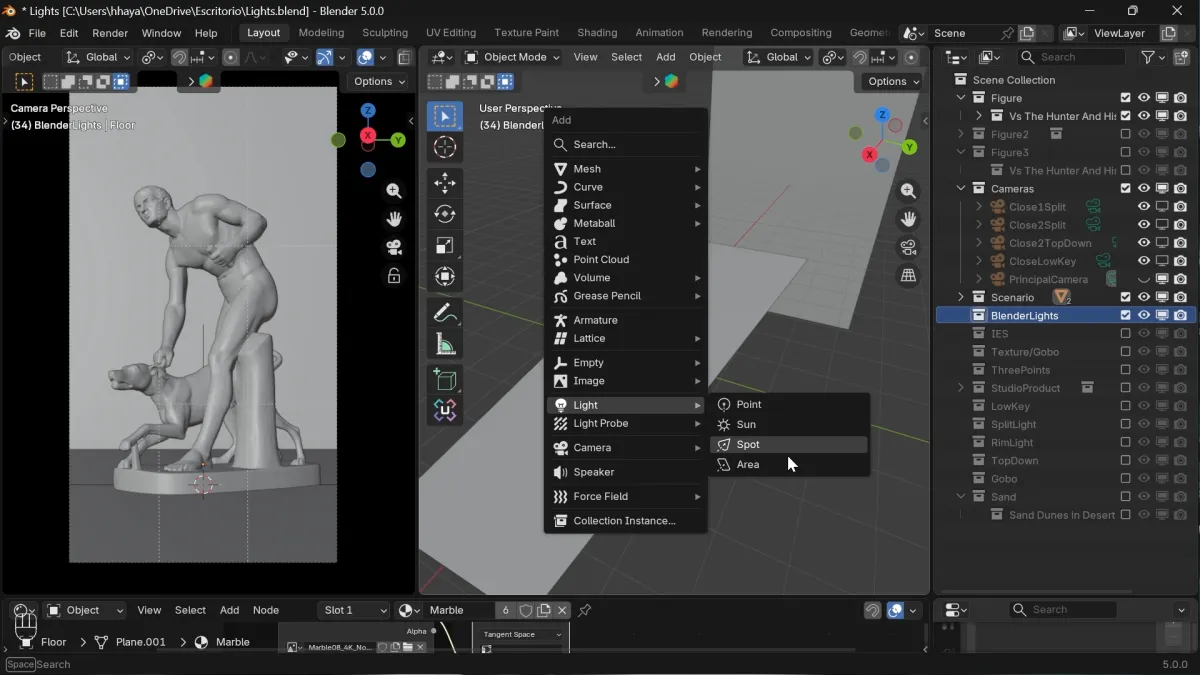
Learn the essential lighting tools available in Blender, what makes each one different, and when to use them.
1.1 Explaining Our Scene
1.2 Sun Light
1.3 Point Light
1.4 Spot Light
1.5 Area Light
1.6 IES Lights
1.7 Gobo Textures
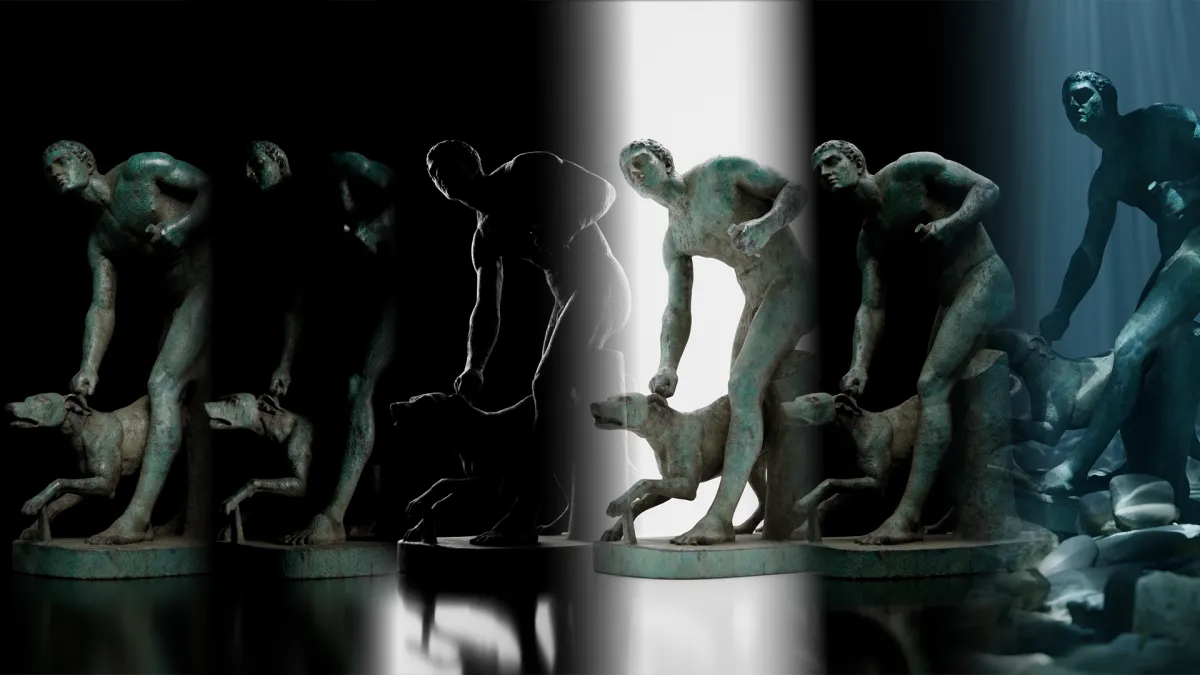
Lighting Styles
Put those tools into practice by building different lighting setups and learning how light can completely change the look and mood of a render.
2.1 Three-Point Lighting
2.2 Product Lighting
2.3 Low-Key Lighting
2.4 Split Lighting
2.5 Rim Lighting
2.6 Top-Down Lighting
2.7 Conclusion
The Instructor

Charly Ayala
Environment Artist/Motion Designer
I’m Charly Ayala, a 24-year-old Mexican 3D artist specializing in Lighting and Look Development (LookDev). Over the past five years, I’ve built my career as a freelance artist, using Blender and its Cycles render engine as my primary tools to bring complex creative visions to life while meeting industry standards.
For more than three years, I’ve had the privilege of collaborating with internationally recognized brands and creators. These experiences have allowed me to refine my expertise in photorealistic rendering, visual storytelling, and advanced Blender workflows, including texturing, lighting, and rendering.
Clients
Volvo México, Zack D Films, Grupo Arcano, Grünenthal México.
FAQS
Do I need previous Blender experience?
Basic familiarity with Blender is recommended, but you don't need previous lighting experience.
Is this course for beginners?
Yes. Blender Lighting Lab is designed to make 3D lighting easier to understand, starting with the fundamentals before moving into practical lighting setups.
What version of Blender do I need?
Use a recent version of Blender. Minor interface differences between versions shouldn't prevent you from following the course.
Will these lighting techniques work outside Blender?
Yes. While the demonstrations use Blender, concepts such as Three-Point, Rembrandt, Split, Rim, High-Key and Low-Key lighting are fundamental lighting techniques that can be applied in other 3D software and even photography/cinematography.
For how long can I access the course?
Lifetime access. Once purchased, you can revisit the course whenever you want and receive future updates at no additional cost.
What if the course isn't for me?
Keep your existing 14-day refund answer.
Testimonials
We are so grateful for the amazing photos that [photographer's name] took of our wedding day.
Jane Doe
[Photographer's name] is an incredibly talented photographer.
Jane Doe