Course Launch Sale! 25% OFF
Sale ends in:

You know how to use Blender. Now learn how to create polished, portfolio-ready renders.
Master the complete LookDev process through three professional Blender projects.
Learn how materials, lighting, composition, cameras, and post-production work together as you complete three professional LookDev projects from start to finish.
Required level: Intermediate

Sub:
English
Dub:
English (In Progress)
This course may include AI-generated translations and voiceovers in select languages.

THE PROBLEM
You've spent hours modeling.
The proportions are right.
The topology is clean.
The details are there.
But when you hit Render...
Something feels off.
Your materials look like plastic, your lighting feels flat, and the final image doesn't have the realism or visual impact you imagined.
The truth is that modeling is only half the battle.
Professional-looking renders come from great Look Development.
That's exactly what this course is designed to teach.
Who is this course for?
For Blender artists who know the tools but still struggle to achieve professional-looking results.
IF YOU:
Create materials that look artificial or generic.
Struggle to light scenes intentionally.
Cannot identify why a render feels unfinished.
Want to match references more accurately.
Understand Blender basics but lack a reliable finishing workflow.
Need strong, polished projects for your portfolio.
Then, this course is for YOU!
Stop guessing what your render is missing.
Charly teaches you how to analyze materials, lighting, color, composition, and references so you can make informed artistic decisions in your own projects.
Create three portfolio-ready projects
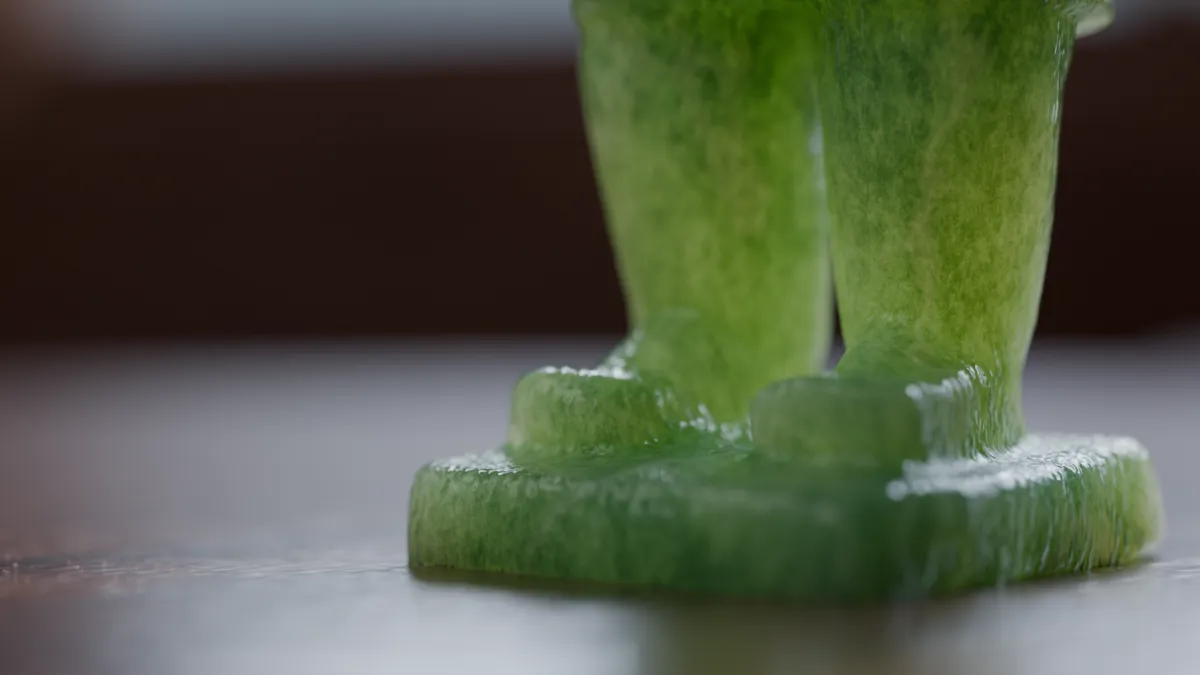
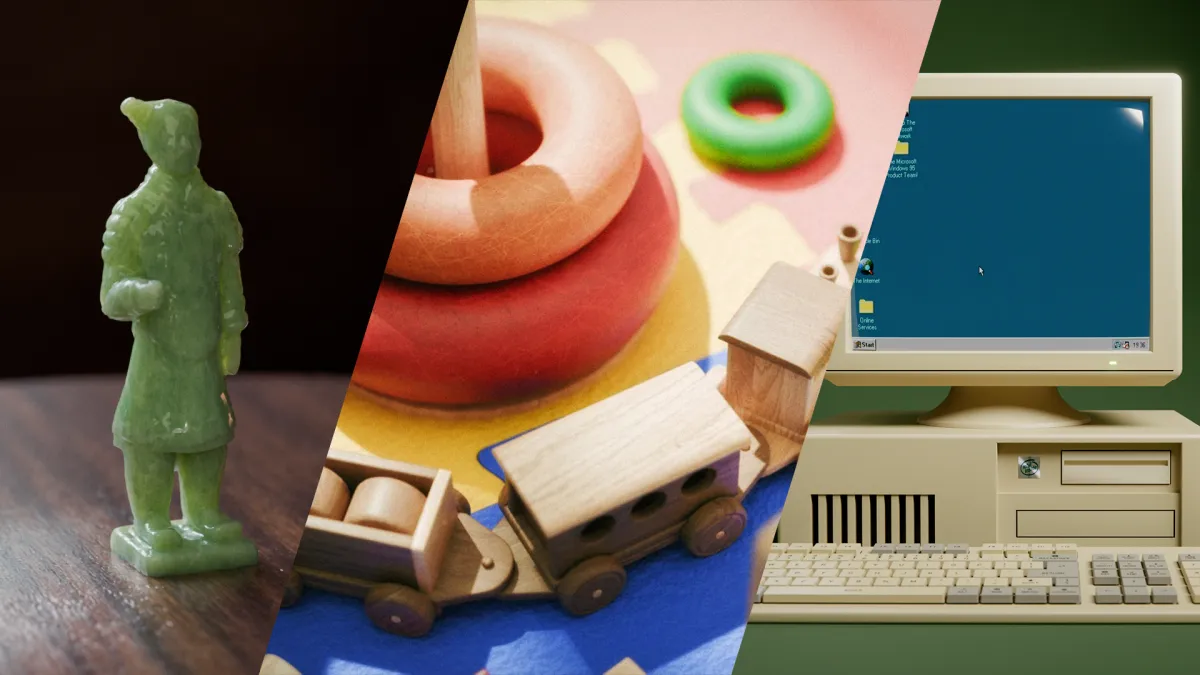
The Jade Statue
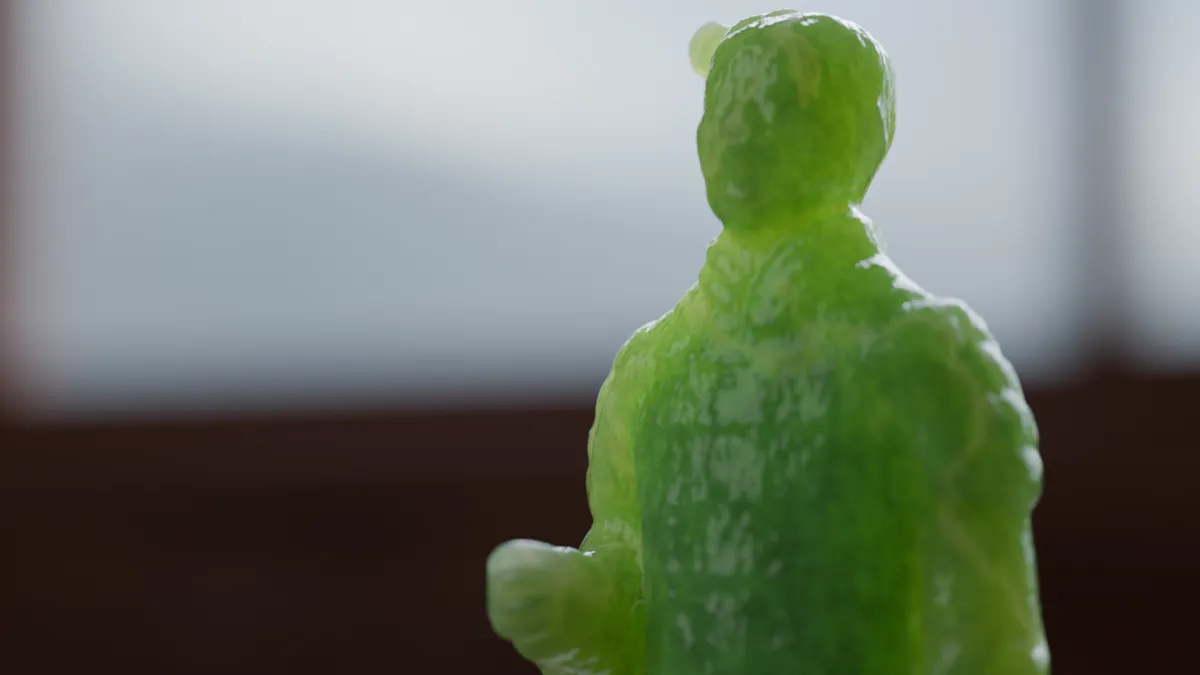
Procedural shading, surface variation, and HDRI lighting.
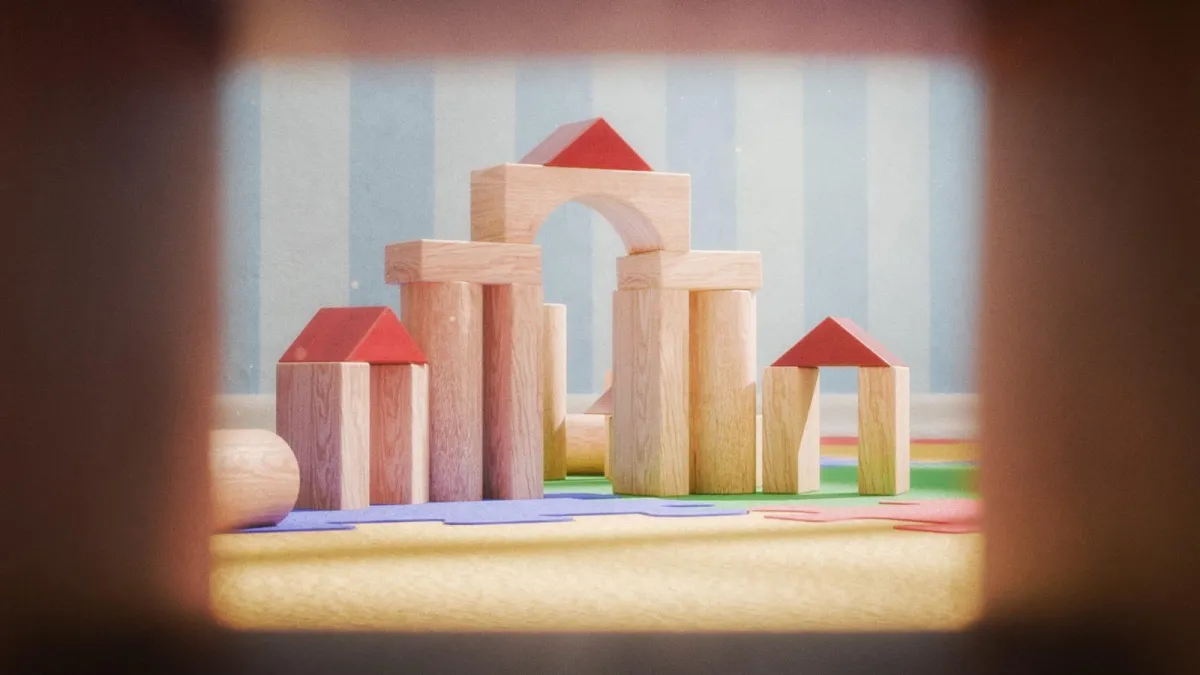
The Toy Room
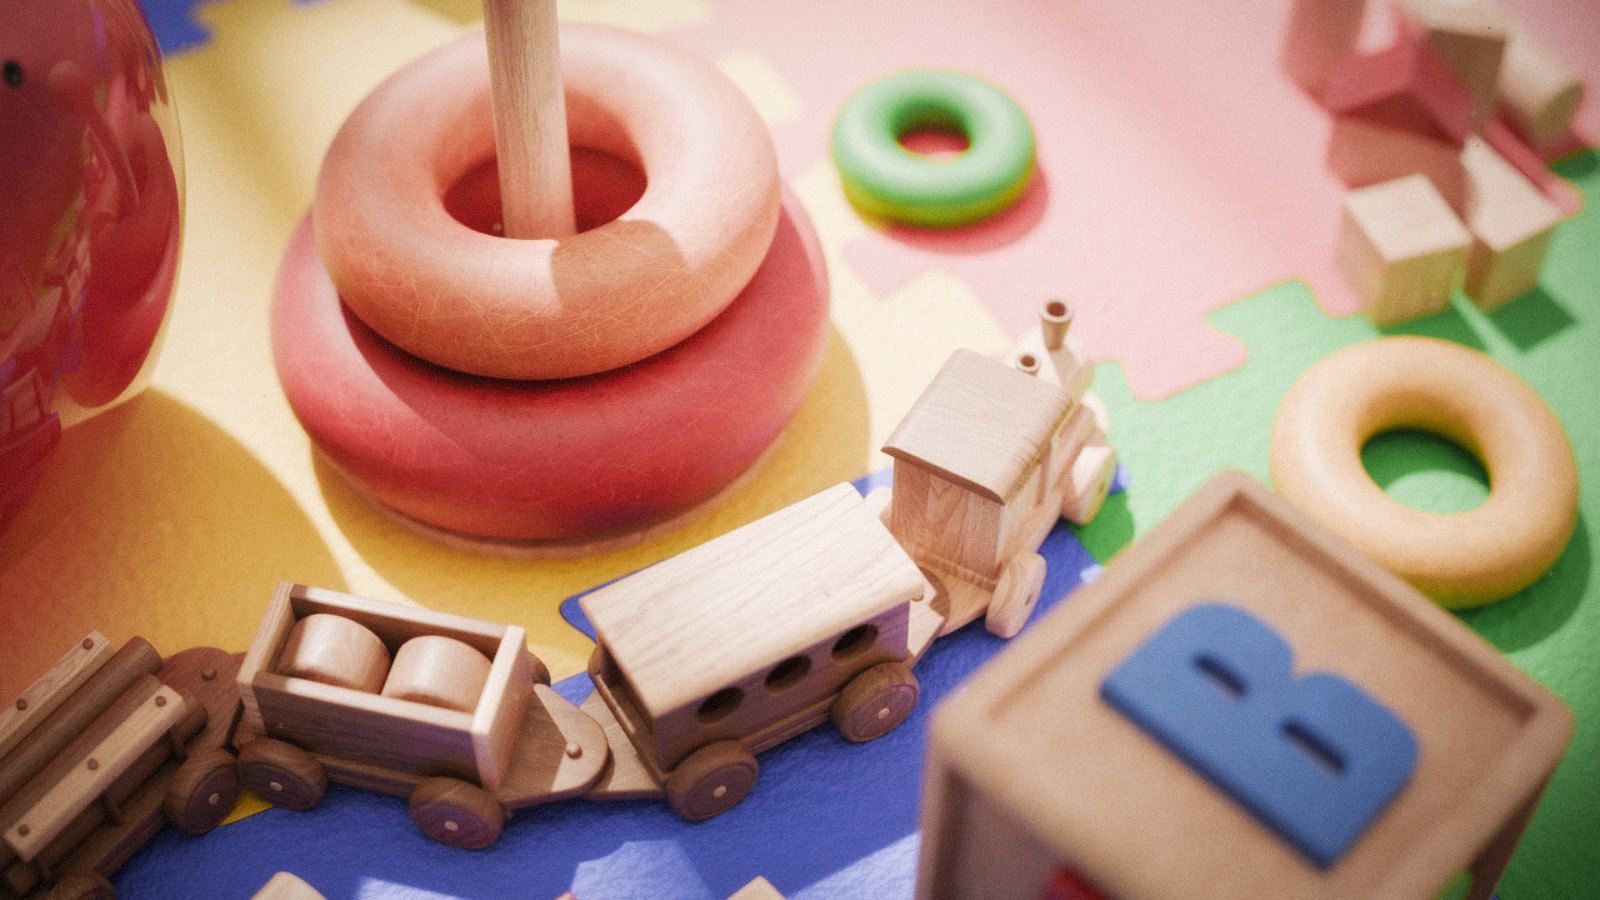
Multi-material environments, complex lighting, composition, and visual storytelling.
Windows 95
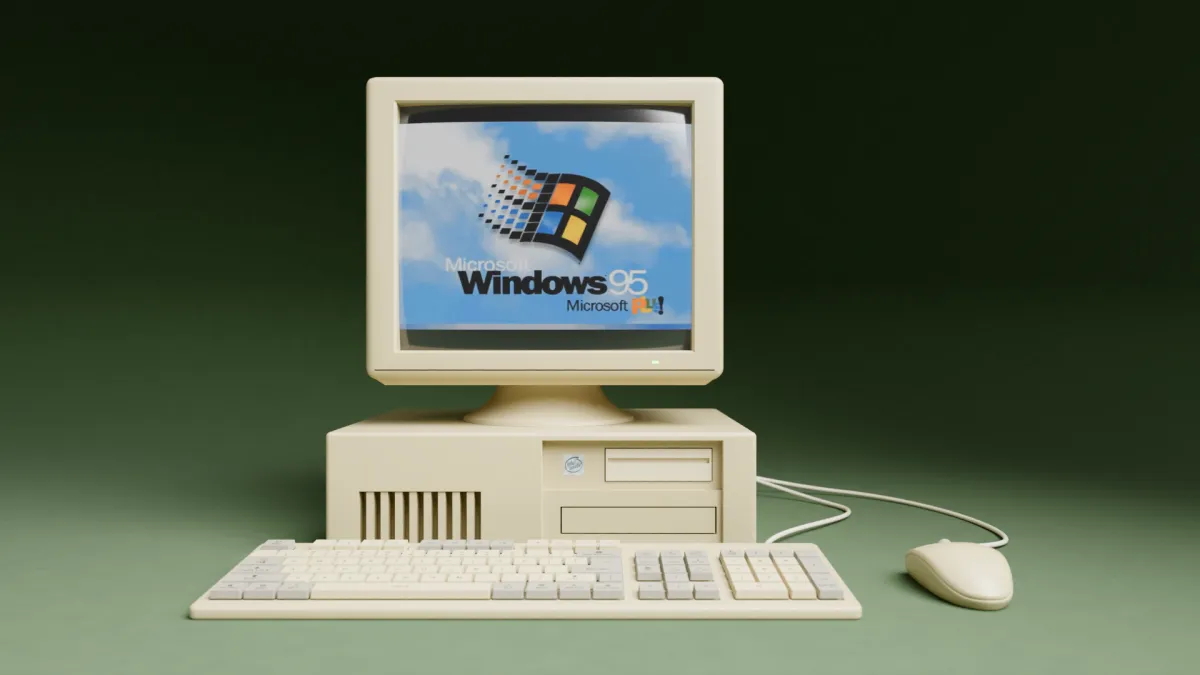
UV mapping, custom textures, detailed shaders, cameras, and product presentation.
What is included?
13+ hours of content
50+ lessons
Downloadable project assets
Private community access
Future course updates
Spanish audio with English and Spanish subtitles
English dub currently in production
The three finished portfolio pieces
The complete photo-editing workflow
The six-shot product animation
Course Requirements
Recommended Knowledge
This is not a Blender fundamentals course. Students should already understand navigation, object manipulation, basic materials, cameras, and rendering.
Recommended Software
Recommended Requirements
A computer capable of running Blender and rendering with Cycles.
More complex scenes may require reduced samples or optimized settings on lower-end hardware.
What is inside
Welcome!
Where everything begins
Welcome to Module 1! Here, you'll explore the background of Charly Ayala, understand how to navigate our platform, and familiarize yourself with the hardware and software requirements. By the end, you'll have a clear picture of your starting point and where you'll be upon completing the course. Let's dive in and get started on this exciting journey!
1.1 Welcome
1.2 Who is Charly Ayala
1.3 How to use our platform
1.4 What do you need to start
1.5 What to expect from this course
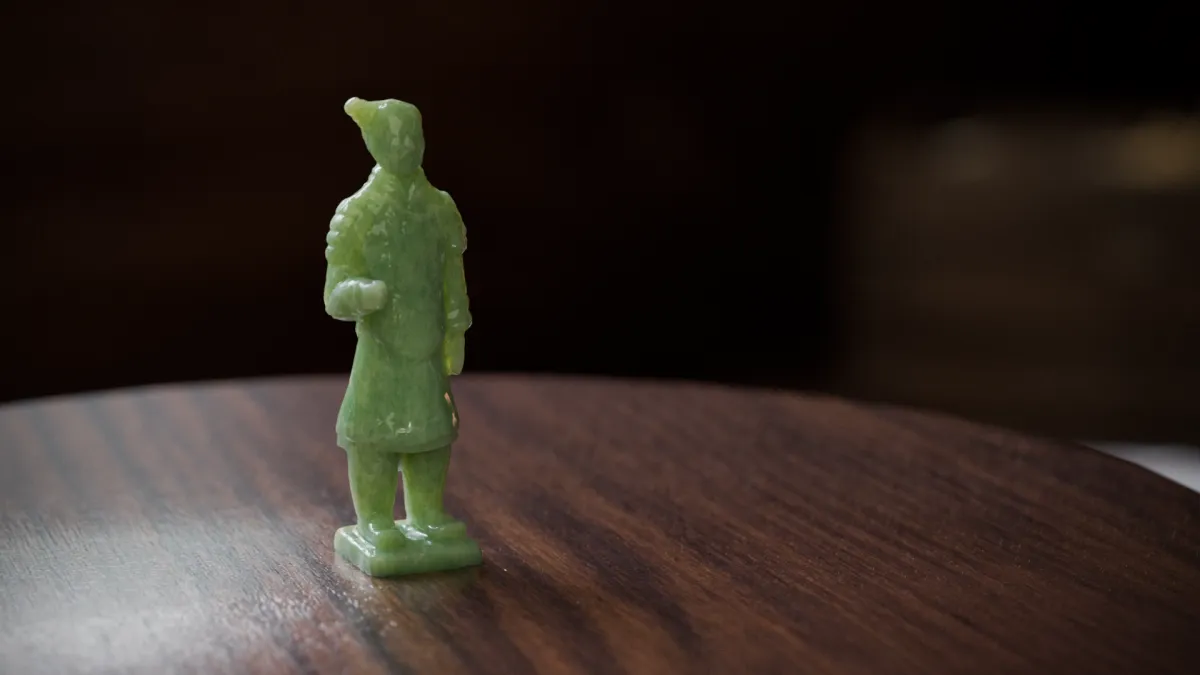
Jade's Statue Scene.
Let's make something beautiful!
Build a strong foundation in look development by creating a polished jade statue. Learn the fundamentals of lighting, HDRIs, procedural materials, shaders, and rendering while developing an eye for realistic surfaces.
2.1 Setting up our scene
2.2 The jade material
2.3 Table material
2.4 Camera settings and render
Toy Room
Time to level up!
Take your skills further by working on a complete environment. You'll create multiple materials, improve your lighting techniques, use composition to guide the viewer's attention, and learn how to make a scene feel believable and visually appealing.
3.1 Understanding our scene
3.2 Setting up lights
3.3 Materials and textures
3.4 Texturing the donnut toy
3.5 Texturing ball and letter die
3.6 Texturing wooden objects
3.7 Texturing walls
3.8 Texturing the floor
3.9 Setting up camera and lights
3.10 Volumetry and Particles
3.11 Setting up the second scene
3.12 Setting up the third scene
3.13 Setting up the fourth scene
3.14 Setting up the last scene
3.15 Render settings and exports
Windows 95
The final challenge!
Tackle the most advanced project of the course by recreating a nostalgic Windows 95 desktop setup. Focus on UV unwrapping, texture creation, complex materials, and refined lighting techniques to produce a portfolio-worthy final render.
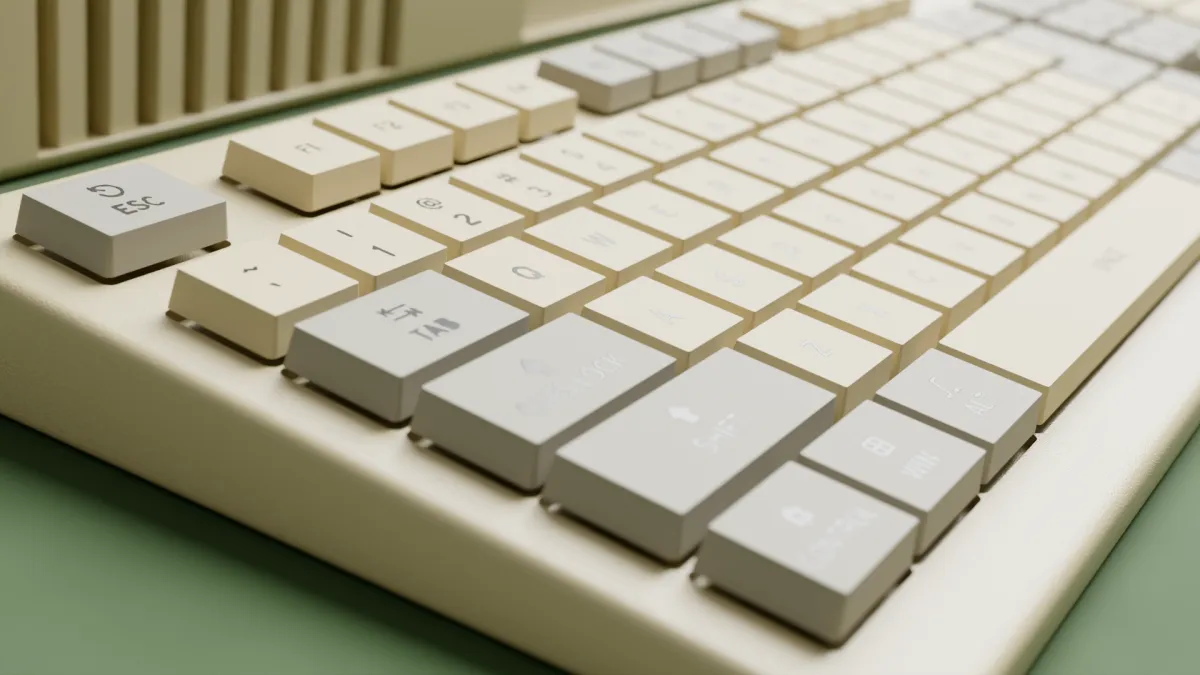
Cutting our UVs
4.1 Understanding our Scene
4.2 What are UVs
4.3 Cutting the monitor UVs
4.4 Cutting the keyboard UVs
4.5 Cutting the CPU UVs
4.6 Cutting the mouse UVs
UV Unwrapping
4.7 Types of Unwrap
4.8 Unwrapping the monitor
4.9 Unwrapping the CPU
4.10 Unwrapping mouse and keyboard
4.11 Unwrapping keyboard's keys
Creating our Shaders
4.12 Creating Shaders
4.13 UV Mapping
4.14 Finalizing our plastic shader
4.15 Normal Map vs Displacement Map vs Bump Map
4.16 Examples using PBR textures
4.17 Adjusting computer materials
4.18 Computer screen shader
4.19 LEDs shader
4.20 Improving the screen's glass
4.21 Creating the sticker shader
Texture Painting
4.22 Preparing the keyboard
4.23 Painting the keys
4.24 Completing the shader
Preparing the Scene
4.25 Creating our Virtual Set
4.26 Camera set up
4.27 Light set up
Camera and Render Settings
4.28 Positioning cameras pt.1
4.29 Positioning cameras pt.2
4.30 Positioning cameras pt.3
4.31 Positioning cameras pt.4
4.32 Rendering Scenes
Extra - Photo Editing
Time to polish!
Learn how to enhance your renders after they leave Blender. You'll use Camera Raw and Photoshop to adjust exposure, color, contrast, white balance, and other finishing touches that give your images a professional polish.
5.1 White Balance
5.2 Light Adjustments
5.3 Color Correction
5.4 Adicional Adjustments
5.5 Toy Room
5.6 Jade Statue
Extra - Product Animation
Lights, camera... action!
Bring your renders to life by creating clean, cinematic product animations. Learn simple camera movements, animation techniques, and rendering workflows to showcase your work in a dynamic and professional way.
6.1 Animating Camera 1
6.2 Animating Camera 2
6.3 Animating Camera 3
6.4 Animating Camera 4
6.5 Animating Camera 5
6.6 Animating Camera 6
6.7 Animating Camera 7
6.8 Adjusting Lights
6.9 Render Settings
Final Notes
Conclusion
You made it!
Wrap up the course with a review of everything you've learned, recommendations for continuing your growth, and the next steps to keep improving your look development skills.
6.1 Final Notes
The Instructor

Charly Ayala
Environment Artist/Motion Designer
I’m Charly Ayala, a 24-year-old Mexican 3D artist specializing in Lighting and Look Development (LookDev). Over the past five years, I’ve built my career as a freelance artist, using Blender and its Cycles render engine as my primary tools to bring complex creative visions to life while meeting industry standards.
For more than three years, I’ve had the privilege of collaborating with internationally recognized brands and creators. These experiences have allowed me to refine my expertise in photorealistic rendering, visual storytelling, and advanced Blender workflows, including texturing, lighting, and rendering.
Clients
Volvo México, Zack D Films, Grupo Arcano, Grünenthal México.
FAQS
Do I need to know how to use a 3D software?
Yes. Basic knowledge of a 3D software is highly recommended. While you don't need prior experience with Look Development, the practical lessons assume you're already comfortable with basic 3D concepts and navigation.
Can I use another 3D software besides blender?
Absolutely. While the course is taught in Blender, the lighting, material, composition, and LookDev principles apply to virtually any modern 3D software. You'll simply need to adapt the techniques to your preferred application.
Will I create complete projects?
Yes! Throughout the course, you'll complete three full LookDev projects from start to finish, giving you portfolio-ready pieces while reinforcing the techniques taught in each module.
Is this course for beginners?
This course is best suited for intermediate artists. If you're already comfortable navigating Blender and creating basic 3D scenes, you'll be able to focus entirely on improving your lighting, materials, shaders, and rendering skills.
Will I learn procedural materials or texture painting?
Both. You'll learn when to use procedural workflows, when to use image textures, and how to combine different techniques to create realistic, production-ready materials.
Will this course help me improve my portfolio?
Definitely. Every lesson is designed around professional workflows, and by the end of the course you'll have three polished renders that demonstrate your LookDev skills.
Do I need paid add-ons or textures?
No paid Blender add-ons or third-party textures are required. Photoshop is recommended only for following the optional photo-editing module exactly, but you can follow the same principle using open source software as gimp.
For how long can I access my course?
Lifetime access. Once you purchase the course, it's yours forever. Watch it at your own pace and receive all future updates at no additional cost.
What if the course isn't for me?
No problem! We offer a 14-day money-back guarantee. If you decide the course isn't the right fit after watching a few lessons, simply request a refund within 14 days of purchase.
Testimonials
We are so grateful for the amazing photos that [photographer's name] took of our wedding day.
Jane Doe
[Photographer's name] is an incredibly talented photographer.
Jane Doe